| Command line intro | Let's revise how to run flask |
Setting up a flask server
Creating a web server for beginners
In this how to guide, we’ll learn how to create a website that runs on your computer own computer. We’ll delve into the basic python code, html, and commands that we need to know.
What software will be needed?
We’ll need the following installed:
- Python (newer than version 2.7)
- Visual Studio Code (or another text editor)
If you haven’t got these installed or aren’t sure, check out our last tutorial, where we covered their download and installation.
Creating our project
Before we can create the webpage, we need somewhere for it to live. We’ll do that be creating a folder. Instead of using windows file explorer, let’s create it in command prompt.
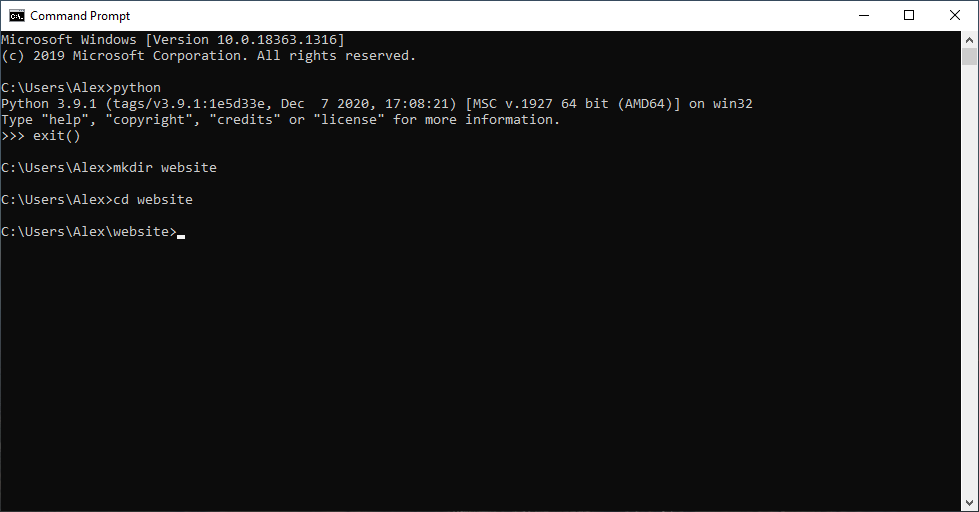
To do this we can enter “mkdir website.” This tells the computer to create a folder (make directory) called website. Let’s find it in file explorer
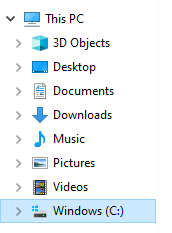
You’ll find it in your C drive, click on a folder called Users, and open the folder with your username. You should be able to find a folder called website.
It’s still empty, but it won’t be for long...
Let’s open the folder using command prompt. We’ll use the cd (change directory) command and tell it to open website folder: “cd website”
When we come back to run an existing server later on, the cd commands will be really useful.
Our commands are now prefixed with this C:\Users\Username\website. That means that command prompt is working inside that directory.
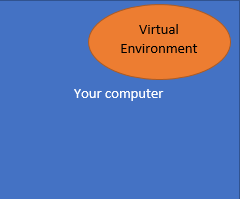
It’s good practice to create a virtual environment that we install our packages into. This ensures that the packages don’t get modified unintentionally which would result in the program potentially breaking.
This diagram show the virtual environment contained within a computer, but has it’s own attributes and collection of attributes. The main computer’s environment can’t access it’s packages, and vice versa.
To create the environment, enter this into command prompt: “python -m venv venv”, and hit enter.
What does it mean though?
- python: tells the computer that we are going to run a python command
- -m: this means that we’ll run a preinstalled module script
- venv (the third word): the name of the script that creates a virtual environment
- the final word (venv): this is the name for the virtual environment. It can be almost anything. It’s good to keep it to something short and simple though so we can remember it.
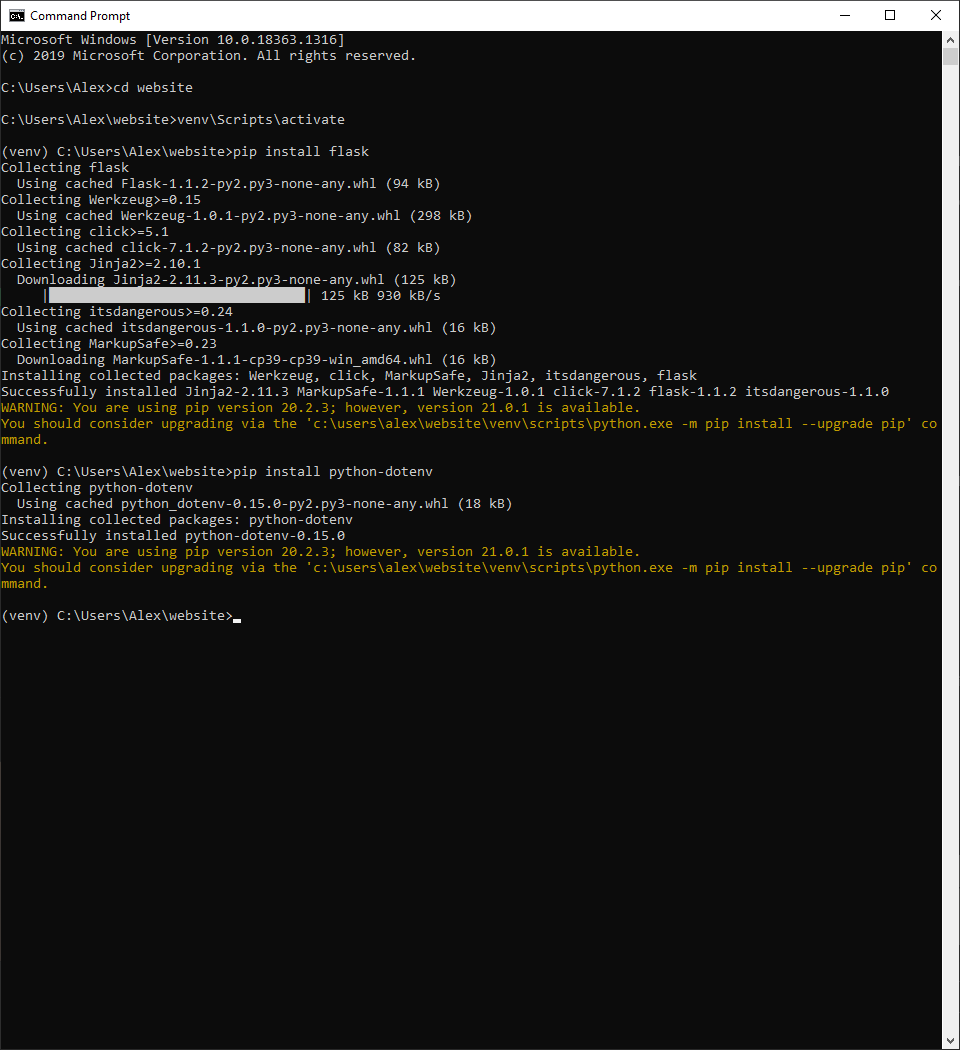
Now that we have our virtual environment created, let's hop into it. We’ll use the name of the environment then “\Scripts\activate”. This means that to access and activate our environment “venv” we’ll use the command “venv\Scripts\activate”.
Now we can install the modules that the project needs. To do this we’ll be using pip – an incredible feature that comes with all python versions after 2.7. To install modules with it, the syntax is just “pip install” and the module name.
Let’s install flask with it. Enter “pip install flask” into the command prompt and hit enter.
We’ll also make use of a package called python-dotenv. We’ll talk about what it does later, but let’s install it now by entering “pip install python-dotenv” into the command prompt.
Your command prompt should now look something like this.
Now we’re ready to start coding.
Python setup
Lets create another folder, this time inside the website folder. If you’re inside the website folder, your commands will all be prefixed by this (venv) C:\Users\Alex\website>
Now lets create a folder called app. It’s the same syntax as above: “mkdir app”
It’s time to open Visual Studio Code (or whatever text editor you’re using). Copy the following text across. I’ve added some comments (after the # symbol) to explain whats happening in each line. These aren’t read when the programs run though.
from flask import Flask #imports the flask module that we downloader earlier
app = Flask(__name__) #creates a flask instance
from app import routes #imports the routes for navigating around the website
Save this in the “app” folder as “__init__.py”
The routes module doesn’t exist though, as we didn’t install it. Create a new file in VS Code and put the following text in it:
from app import app #import statement for the whole application instance
@app.route('/')
@app.route('/index') #these are called decorators. They associate the URL (or links) of “/” and “/index” to this function
def index(): #now the function definition
return "Hello, World!" #the function will return some text
We’ll also save this in the “app” folder and call it “routes.py”
And now a very short piece of code:
from app import app #imports an instance of the app
We’ll save this in the main folder (“website”) and call it “website.py”
That’s our basic program complete. Now we just need some way to run it.
That’s where the python-dotenv package comes in.
Final setup
To tell python where to start the program from we create a file called �.flaskenv�. It�ll contain instructions for the program, and make sure that it can find the starting point.
When naming it, make sure that it just is called ".flaskenv" and any sneaky file extensions that try and creep in are removed.
We'll add the following text to the file:
FLASK_APP=microblog.py
The main folder should look like this
and the app folder should look like this now.


Running...
Let’s run it now. Enter “flask run” into command prompt. You’ll get a few warning about how it shouldn’t be used as a proper server, but you’re now all set with your own server running.

I’m sure you want to access your page now, and see what it looks like.
Go to your browser and enter “localhost:5000” as the web address.
You’ll get a result like this with the text we set in the routes.py file.
What happens if you change the URL to “localhost:5000/index” like we set in the routes file?
If you try a random address like “localhost:5000/xyz” do you get an error?
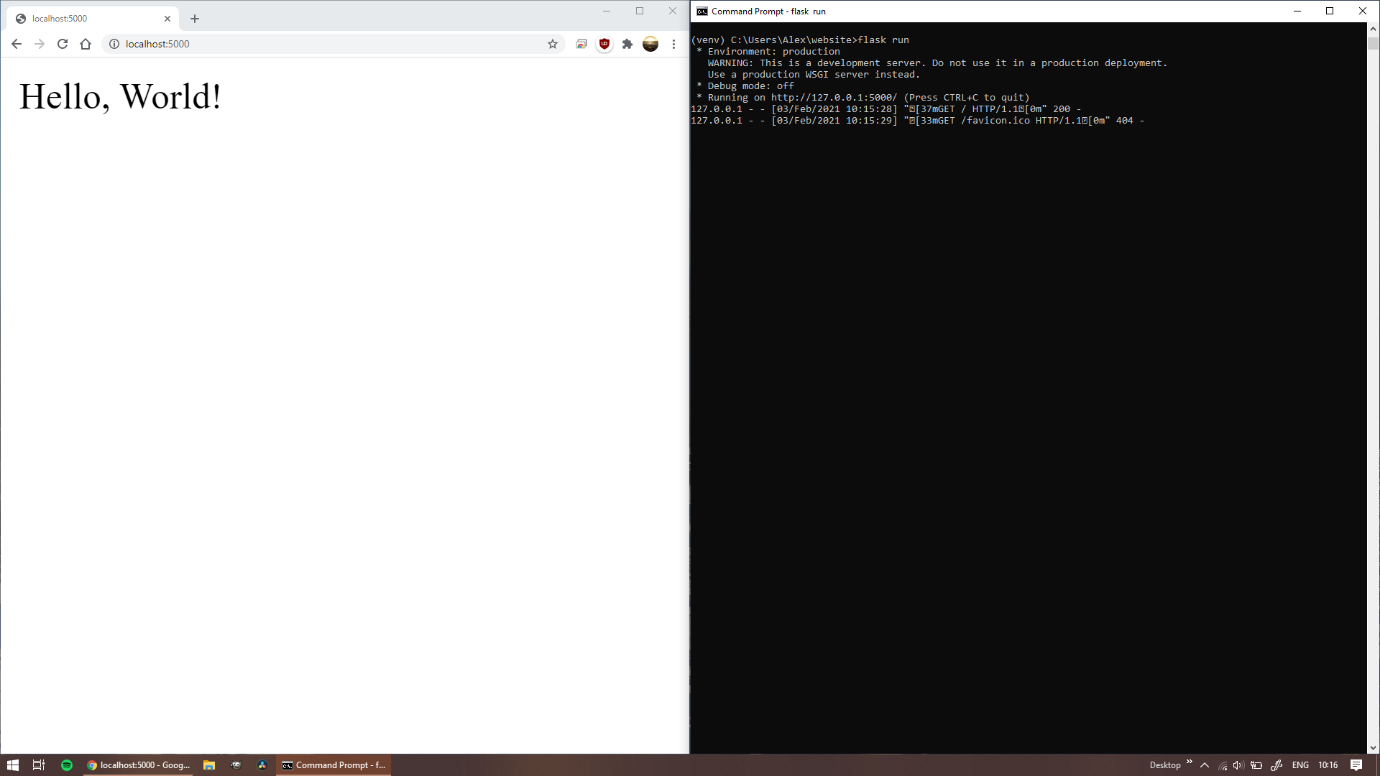
You’ll notice that the command prompt interface logs all the interactions it has with the browser. After each exchange there’s a number, this will typically be either 200 (success) or 404 (file not found). When you tried to access the xyz file (which doesn’t exist) a 404 error should be displayed.
Our text look a bit boring though. In the next section we’ll explore how to make it a bit more interesting.
| Command line intro | Return to top | Let's revise how to run flask |